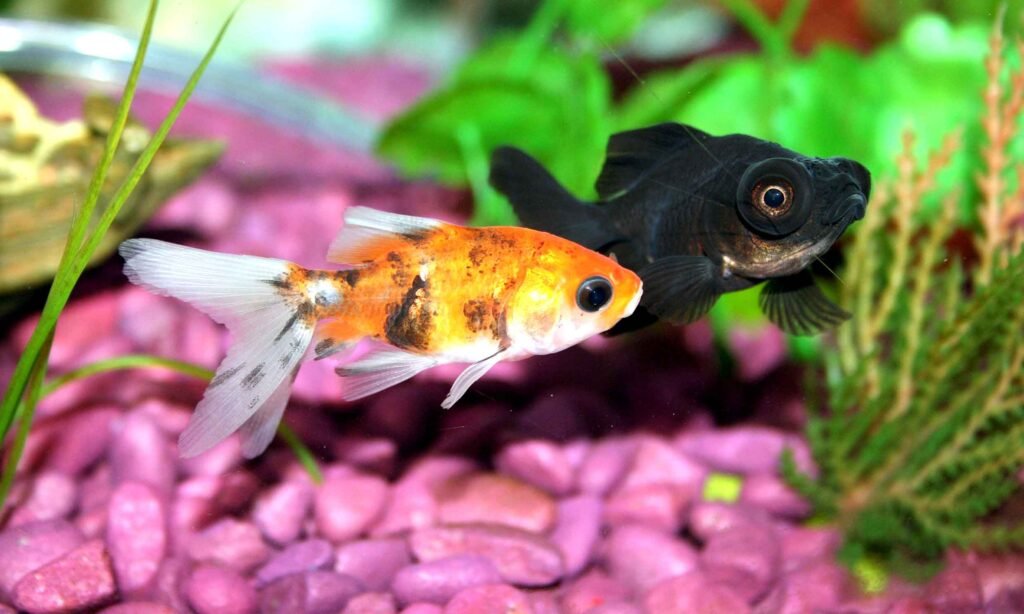
If you want to start a new aquarium, you need to set up a tank for fish first. Setting up a fish tank can be very peaceful and beautiful. It is a novel and enjoyable way to raise a favorite small animal. From my experience, if you are a newbie and want to start this hobby, it can be quite difficult with the initial steps. However, with proper advice and patience, it will be easy to do. I am an experienced aquarist; in this particular article, I will discuss in detail the steps on how to set up a freshwater aquarium. So that newbies who want to start an aquarium can easily take up their hobby.
Materials for Making a Fish Tank:
-
- a tank
- aquarium stand
- water
- light
- living plants
- pebble stone
- home decor
- filter
- water pump
- gravel vacuum
- aquarium heater
- fake plants
- strainer
- airline tubing
- thermometer
- water quality test kit
- lid
How to Set Up a Freshwater Aquarium
1. Determine the Size of the Fish Tank
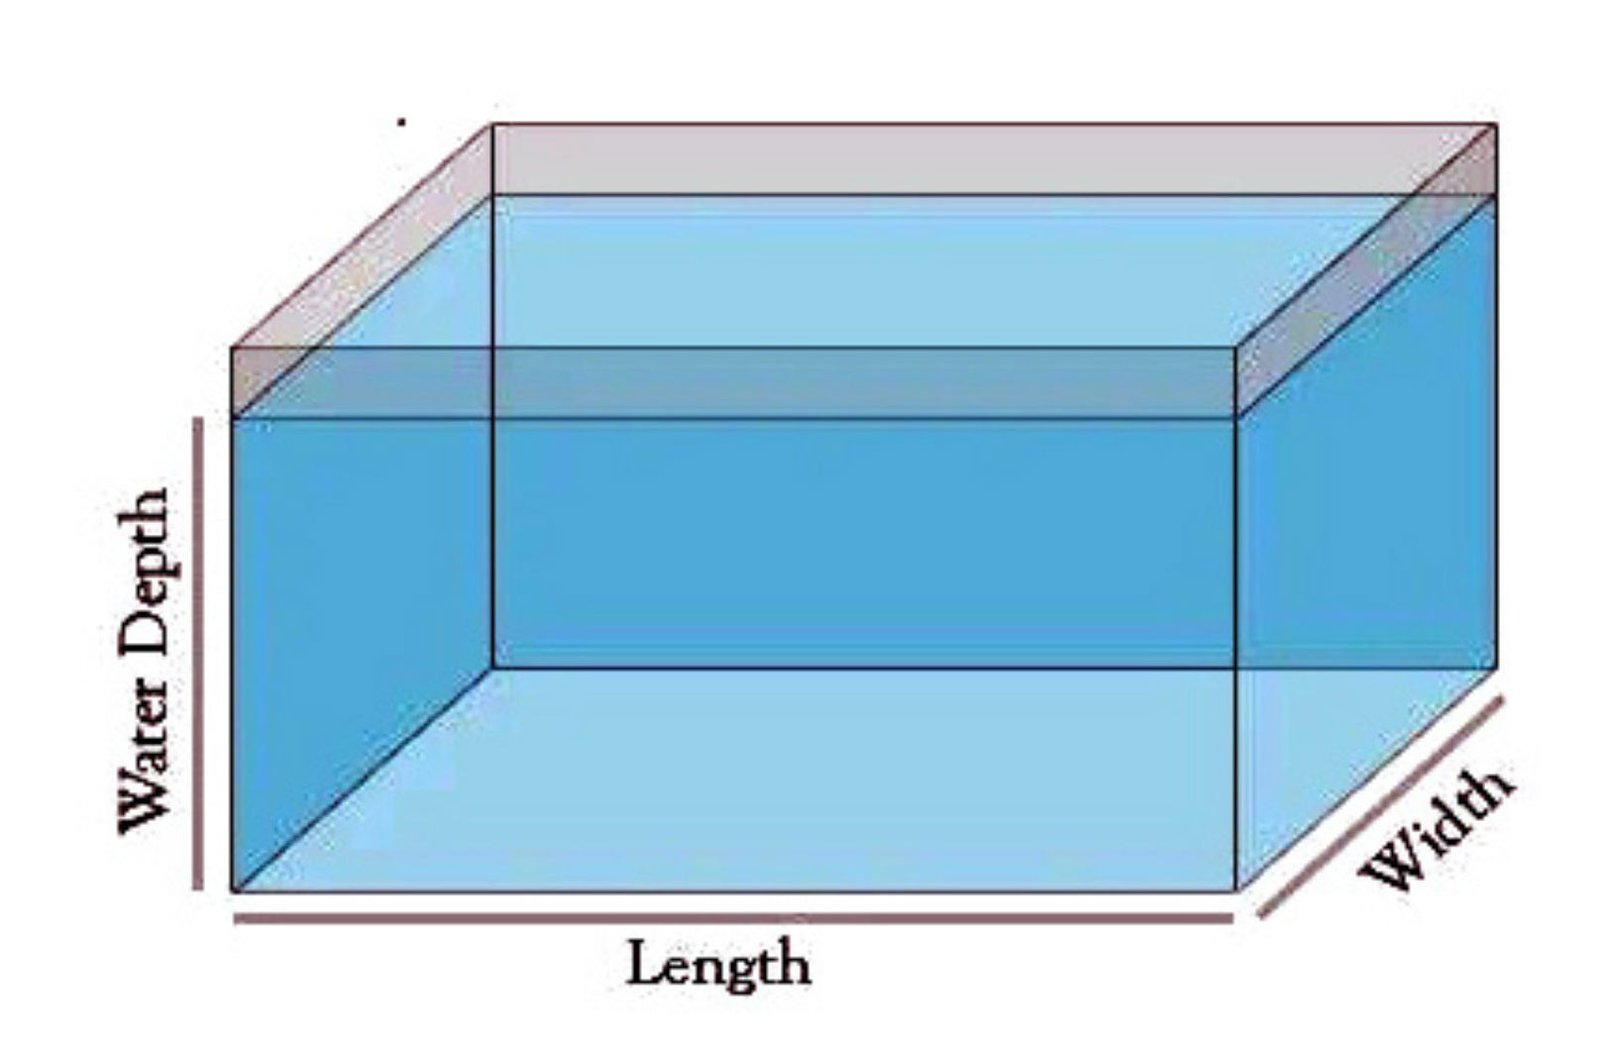
First, think about what kind of fish you want to keep. Specify whether you want to keep common fish or special species. A smaller tank may be suitable for smaller fish species, such as a 10-gallon tank. Larger species of fish may require a larger tank, such as a 50-gallon tank.
If your tank size is 5-10 gallons (18.9-37.9 L), you can keep 3-4 African dwarf frogs, a betta, and some shrimp. A 20 or 25-gallon (75.7 or 94.6 L) tank can hold only a few hardy fish (mollies, guppies, platys, tetras, small cory cats). A goldfish can be kept in a 10-gallon (37.9 L) tank, but large goldfish-like comets require about 50-gallon (189.3 L) tanks.
If you want to add more goldfish to your tank, you will need to increase the capacity of your fish tank by about 10 gallons (37.9 L) for each additional fish. Do plenty of research before adding any fish to your tank. Look for locally owned fish shops in the area, as they provide the most accurate information and the highest quality fish. Quality pet stores usually have compatibility charts for freshwater and saltwater fish.
02 . Determine the Type of Fish Tank
Fish tanks are generally made of two types of materials: glass and acrylic. Both have different advantages and disadvantages. Rimmed glass aquariums are a favorite of both newbies and veterans alike.
- Glass tank: Glass aquariums are generally cheaper, less prone to scratching, and help smooth out any unevenness in the surface it sits on. Rimmed glass tanks must be firmly supported at all four corners, so do not place a styrofoam or other flexible mat under it. If the tank is full of water, the rim will sink into the styrofoam, which will begin to push against the bottom panel and cause cracking. I use glass tanks in my personal aquarium.
- Acrylic tank: Acrylic aquariums, on the other hand, are more expensive, but they are ideal for very large volume tanks because the bonded seams are much stronger and less likely to break. They are lighter in weight and better suited against temperature changes. Acrylic tanks are designed to be supported on their entire bottom panel, so a styrofoam or yoga mat can be used to help buffer against unevenness between the aquarium and its surface.
Note: After selecting the tank, wash it thoroughly with hot water or disinfectant as the tank may contain dust, dirt, and bacteria. Rinse the tank thoroughly with water and check for leaks.
03. Select the Aquarium Cover:
Many people try to cut costs by not adding an aquarium lid or hood, but they don’t realize that tank lids reduce heat and water loss through evaporation in the long run and keep your fish from escaping. Glass lids are very cheap and relatively easy to clean. The glass top usually comes with a plastic strip on the back that can be customized to cut holes for filtration. The lids are very tight so that fish and invertebrates cannot escape.
Acrylic lids are more expensive and tend to warp in water over time. If you try to make a hinged flap for feeding fish, it may warp over time. Lexan polycarbonate sheets do not absorb water as easily and are sometimes used for homemade aquarium lids, but they are still more expensive than glass.
Note: I use glass lids in my personal aquarium.
04. Select the Place to Keep the Aquarium:
Choosing the right aquarium location is important for the health of your fish. Do not place it where it will receive direct sunlight. Direct sunlight will quickly turn your beautiful tank into a murky green algae farm. It should be kept away from windows, doors, and air conditioners because if placed near windows or doors, it will cause human noise and dust to fall into the fish tank, resulting in deterioration of water quality. Keep it away from the air conditioner to avoid temperature fluctuations.
You should place it where there is at least 5 inches (12.7 cm) of space between the wall and the aquarium to make room for the filter. Also, remember that water weighs about 8 pounds per gallon, so a 20-gallon aquarium would weigh over 160 pounds, and a 75-gallon aquarium would weigh over 600 pounds! Make sure there is adequate structural support under the floor and select a flat surface. Check nearby electrical outlets, as most freshwater tanks will require at least three sockets.
05. Select an Aquarium Stand:
There are some important things to keep in mind while choosing an aquarium stand:
-
- Stand Size and Height: Select the stand height based on the size and weight of your aquarium. The stand can match the size of the aquarium or be slightly higher.
- Base: Select a stand that can easily support the weight of your aquarium. It should be consistent between the weight of the aquarium and the weight of the water.
- Stand Strength: Select a stand that is accurate and stable. It should support the width of the aquarium and the weight tolerance.
- Design and Style: Choose a stand that matches the design and style of the aquarium and looks good together.
- Materials: Furniture such as dressers, TV stands, end tables/buffets, or flimsy wooden desks are not strong enough to be used as stands.
Note: If the aquarium is not on the ground floor, make sure the floor can handle the weight. A freshwater tank filled with water, substrate, equipment, and decor can weigh more than 10 pounds per gallon of water.
06. Fill the Bottom with Gravel and Clean Sand
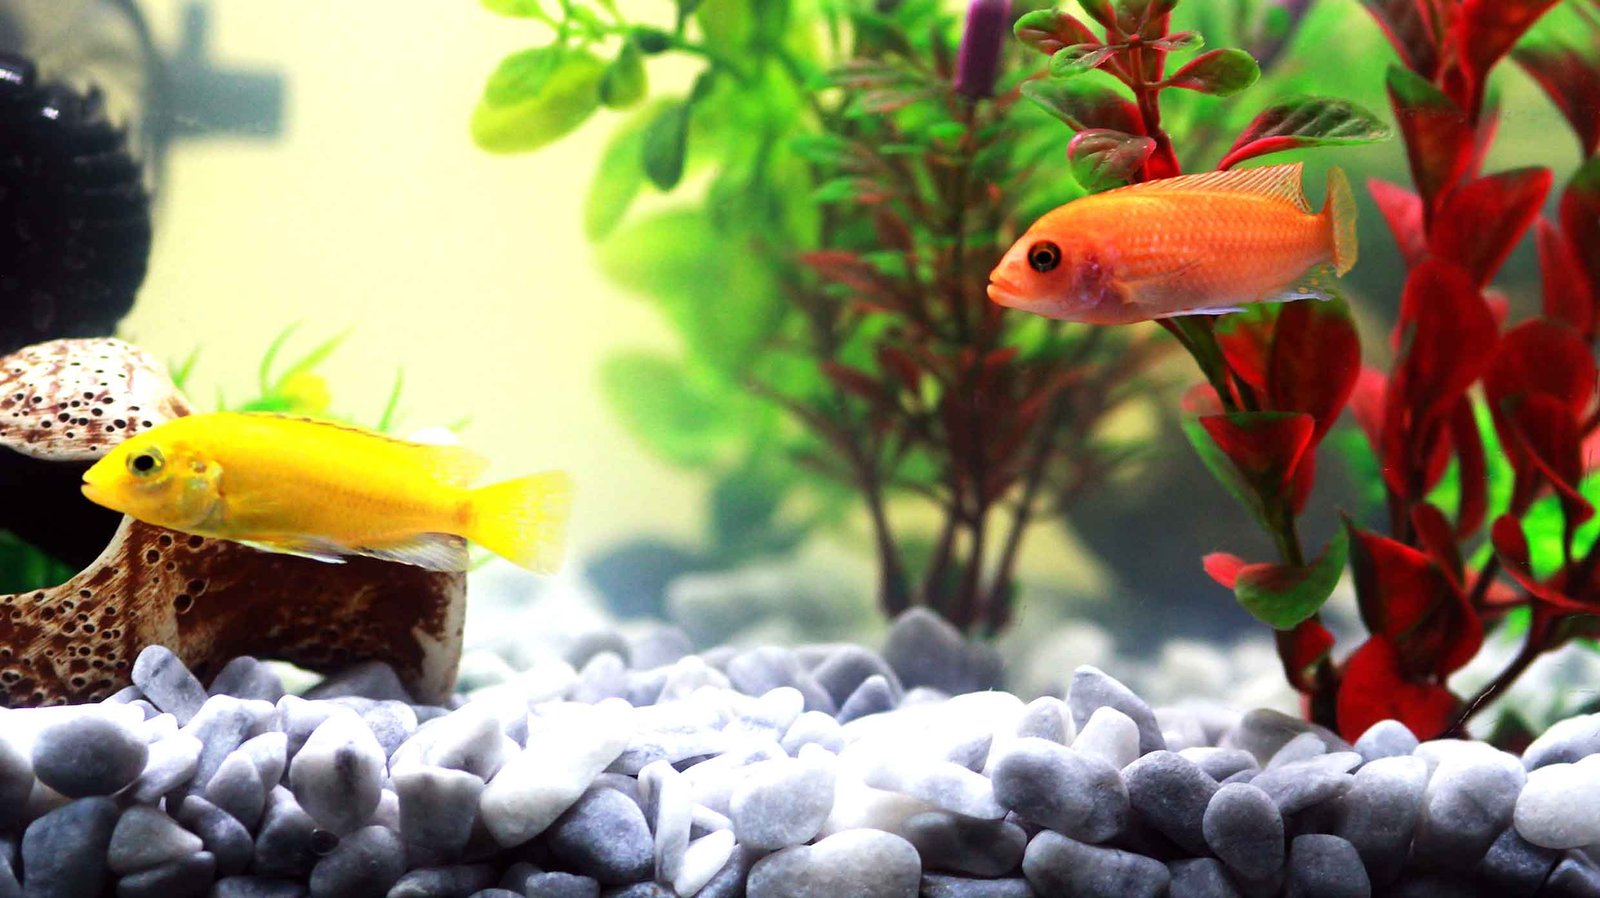
Having about 2 to 3 inches (5.1 to 7.6 cm) of gravel in the bottom of the tank is essential for a healthy aquarium and helps the fish maintain their position in the water. If you use sand instead of gravel, it must be washed with clean water before adding it to the aquarium because sand contains a lot of dust that can destroy your tank or damage the filter.
From my personal experience, using pebbles works well for beginners. Gravel is best for sandfish and invertebrates as they like to burrow. Before adding it to the tank, it should be washed thoroughly so that there is less dust, which helps the filter clean faster when activated. Stir regularly to prevent dead spots on the gravel.
If you are using an under-gravel filter, spread the washed gravel slowly over the surface of the filter in an even layer. Pouring it in too quickly will scratch the tank walls. Place a plate over the substrate so it doesn’t spill when you add water.
Caution: If the pieces of gravel are too small, your goldfish will accidentally swallow them. To prevent this, use gravel that is too large for the fish to swallow.
07. Install the Filter
There are many types of filters available on the market. One of the most commonly used is the hang-on-back (HOB) filter, and another is the under-gravel filter.
-
- Hang-on-Back (HOB): If you are a beginner, we recommend a hang-on-back (HOB) filter. They are easy to install, clean, and maintain. Filters are very cost-effective and reliable. Set it up at the back of the tank in a position where the outflow will distribute the water evenly. It can be a little confusing for beginners to set up by themselves the first time, but you can easily install the filter according to the manufacturer’s instructions.
- Under-Gravel Filter: If you are using an under-gravel filter, spread the washed gravel slowly over the surface of the filter in an even layer. Pouring it in too quickly will scratch the tank walls. Place a plate over the substrate so it doesn’t spill when you add water. If you have trouble setting up the filter, you can follow the manufacturer’s instructions as detailed.
Note: Do not plug in and turn on your filter until the tank is completely full of water.
08. Decorate Your Aquarium for Fish
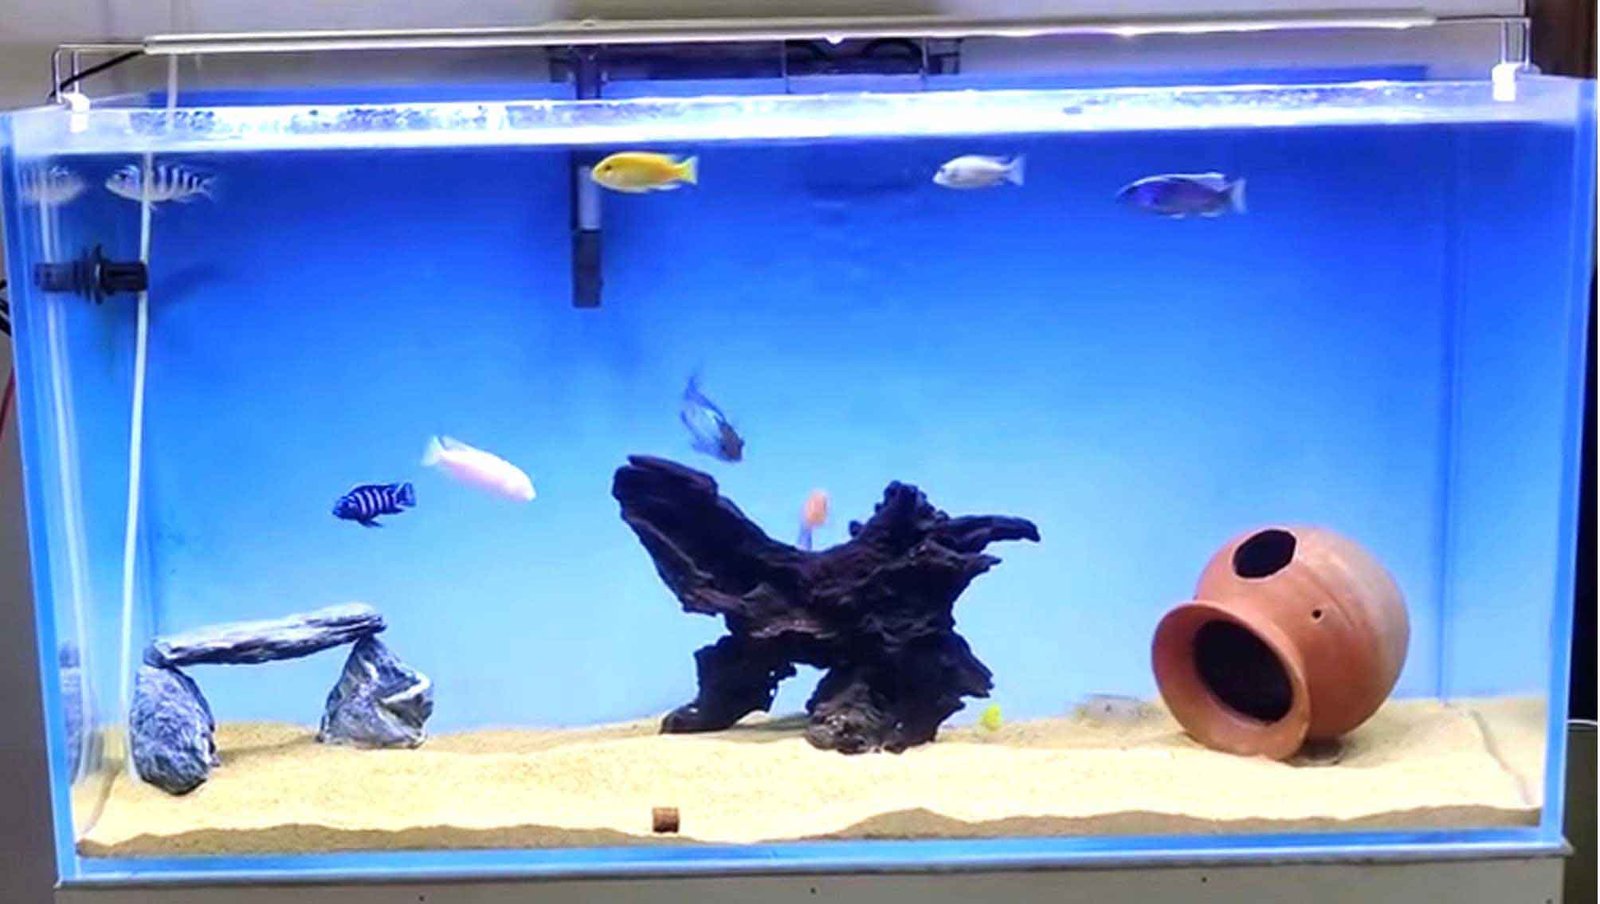
Keeping your aquarium organized will help your fish have a good environment. Add objects such as rocks, caves, and plants to the tank to give your fish a chance to play around and investigate, as some fish prefer open areas to swim. Do not use wood. Although it looks spectacular, it will color your water and dissolve depending on the type of wood.
- Rock: Be aware that some rocks and seashells will affect the pH of the water. If you’re adding things found on the beach, you’ll need to check the pH of your tank frequently. Keep only specific plants in your goldfish tank, as goldfish are quite aggressive with plants. Do research to find out what type of habitat your fish prefer and design your aquarium accordingly. Gradually add decorations to provide newcomers with their own space.
- Use backgrounds: Use aquarium backgrounds. There are great reasons to use aquarium backgrounds as they hide all the tangled wires and tubes from view and prevent the fish from seeing any scary shadows on the wall behind them, which helps the fish live without fear and makes the aquarium look beautiful.
You can purchase fish tank backgrounds from pet stores. Cut out a black trash bag or a sheet of colored poster board and paint directly on the back panel of the tank. I like dark colors like black in our tanks because the fish and plants stand out better against the dark background, and the algae are not as noticeable.
9. Add Water
Water should be prepared before adding it to an aquarium. You can use tap water to fill your tank, but you will need to add a conditioner to make it safe for your fish. You need a conditioner that neutralizes chlorine and chloramines. Municipalities add low levels of chlorine chemicals to maintain tap water quality that are toxic to fish.
In addition to removing harmful chemicals in tap water with a conditioner, you need to make sure the water has the right pH for the fish (add conditioner according to bottle directions). The ideal pH for freshwater fish is 7-7.5.
Use a pH test kit to test your water periodically and adjust the pH as needed. Keep the fish tank water temperature between 60 °F (16 °C) and 72 °F (22 °C). The water temperature in the aquarium can be easily controlled by a heater and a thermometer. Maintaining oxygen saturation in the water can be provided by an aerator and a specially designed filter. Always have a freshwater test kit to test your water at home.
10. Install the Heater
Most freshwater pet fish prefer warm, tropical temperatures between 74-80 °F. So if your tank is below this temperature, you need to buy an aquarium heater to protect your fish from getting sick. Another reason to choose a heater is that it allows you to change the temperature of the water to keep different species or to treat sick fish.
Select a fish tank heater with about 4-5 watts (W) of heat per 1 gallon of water. For example, if you have a 5-gallon aquarium, you can get a 20-25W heater. Also, if you own a large aquarium that requires 200W of heat, it’s better to buy two 100W heaters (instead of one 200W heater). If one heater shuts off, a second heater acts as a backup to keep the water from getting too cold. Two types of heaters are available: non-submersible and submersible.
- Submersible: Submersible heaters are the easiest to use. Submersible heaters should be placed as close to the filter intake as possible. This placement helps spread the heated water better throughout the tank. Since different fish prefer different temperatures, this placement helps.
- Non-Submersible: Non-submersible clip-on heaters, which hang vertically in the tank, should be placed as close to the filter outlet as possible.
Note: Do not plug in and turn on your heater until the tank is completely full of water, and follow the instructions included with the heater to set it up as the setup method can vary.
11. Install the LED Lights
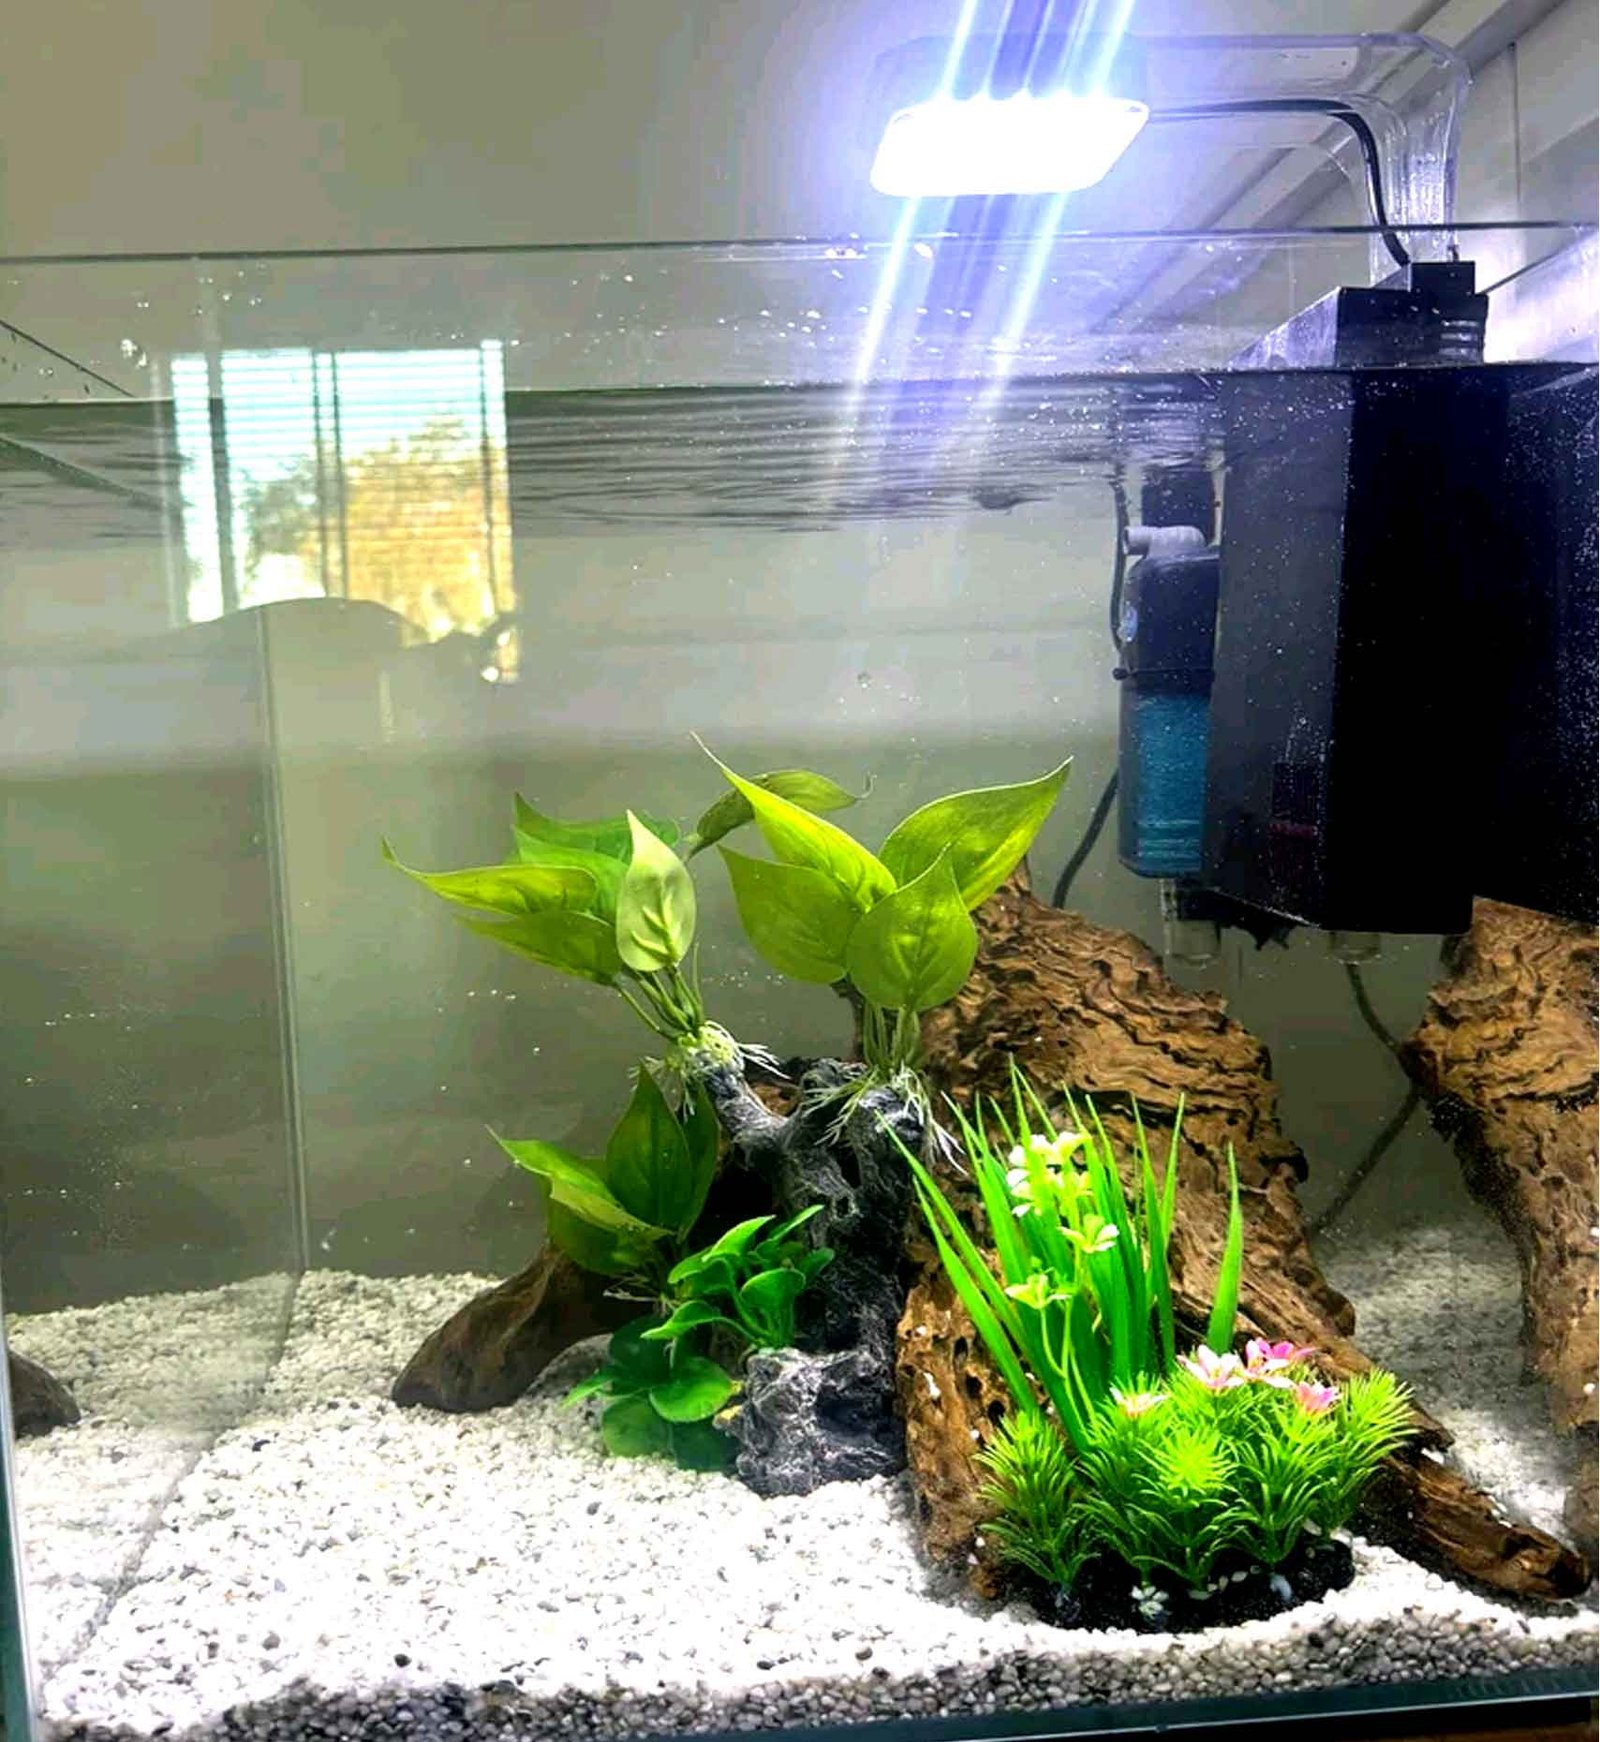
For optimal light control, avoid placing your aquarium in direct sunlight. The sun may be stronger than needed, especially if you have plants that require low light. Additionally, fickle weather can cause varying amounts of daylight. Aquarium lighting should be used to create a day and night cycle because your fish need rest. Keep your aquarium lighting on a regular on/off cycle to prevent unsightly algae growth. An aquarium requires 10 to 12 hours of light. LED lights will help keep your fish happy and healthy.
These guidelines will help you install LED lights in the aquarium. First, decide what type of lighting you want to use. The type of lights you install in your aquarium depends on its plants, fish, and size. The best place to install the lights is ten inches above the water surface and in the center of the tank so that the light is evenly distributed throughout the tank.
Note: The single type of light installation method is standard, so the type of light you choose can be easily installed by following the installation instructions on the package.
12. Install the Thermometer
Install the thermometer according to the manufacturer’s instructions. The thermometer should be located at the opposite end of the tank from the heater in a position that is easy to check. Place the hood and lights (if applicable) on the aquarium. Plug in the filter, light, and air pump. Make sure the cord running from the outlet forms a “drip loop” before looping it up to the plug. This prevents water from flowing down the cord into the socket. You will see that the water level drops slightly when the filter starts. Add as much dechlorinated water as needed to bring the water level to the correct level.
13. Cycle Your Tank
Cycle your tank for a few weeks. Cycling the tank increases the beneficial bacteria in the tank. The cycle must be completed before adding any fish to your tank. During the cycle, you need to monitor the water parameters: pH, high pH, ammonia, nitrite, and nitrate. When the ammonia, nitrite, and then nitrate spikes drop to 0, you are ready to add fish to the tank.
14. Purchase the Fish and Transport Them Home
Do not buy all of your chosen fish at once; buy 2-3 fish at first. The salesperson will give you water, then fish, and then oxygen in a clear plastic bag. When you get into the car, put the bag in a place where it won’t roll around or fall over. Fish can only survive in water and oxygen provided for 2-3 hours. For trips longer than this, different packing methods should be adopted.
15. Place the Fish in Your Tank
After bringing the fish home from the pet store, keep them in the bag for about 20 to 30 minutes. Then, open the bag and pour some water from the tank into the bag for 20 to 30 minutes to allow the fish to gradually acclimate to the temperature difference. Do not pour any water from the bag into the tank. After 20 to 30 minutes, gently net the fish out of the bag and place them in your tank. Discard all the water from the pet store. The reason not to add pet store water to your tank is that it may contain unwanted contaminants such as parasites, fungi, or freshwater snails that are harmful to fish.
It usually takes 3-6 weeks for a new aquarium to go through the initial nitrogen cycle, so only a few fish should be added each week during this time. Start with two or three fish for the first ten days, then add two or three more if your tank can handle it. If you add too many fish at once, the water won’t circulate enough and will quickly become toxic.


